Share this story • • • When Apple released OS X 10.7 two years ago, it stopped selling operating system DVDs in its stores, stopped shipping recovery disks with new Macs, and switched to downloadable installers for OS X upgrades. These download-only installers have actually worked pretty well—I’ve never had an issue downloading the software from the Mac App Store or restoring a Mac using the Internet Recovery feature when something went south. That said, it’s still nice to have an install disk handy for those cases when you don’t have a connection, when your connection is slow, or when you just have a whole bunch of Macs and don’t want to have to download the installer on each and every one of them. The good news is, as with Lion and Mountain Lion, it’s possible to create a local USB installer for Mavericks. The bad news is that it wasn’t as simple as it was before—Apple has changed the way the installer works, and making an install disk manually is more difficult than it used to be.
Before we get started, here’s what you’ll need: • An 8GB or larger USB flash drive, or an 8GB or larger partition on some other kind of external drive. • The OS X 10.9 Mavericks installer from the Mac App Store in your Applications folder. The installer will delete itself when you install the operating system, but it can be re-downloaded if necessary. • The latest version of app, available.
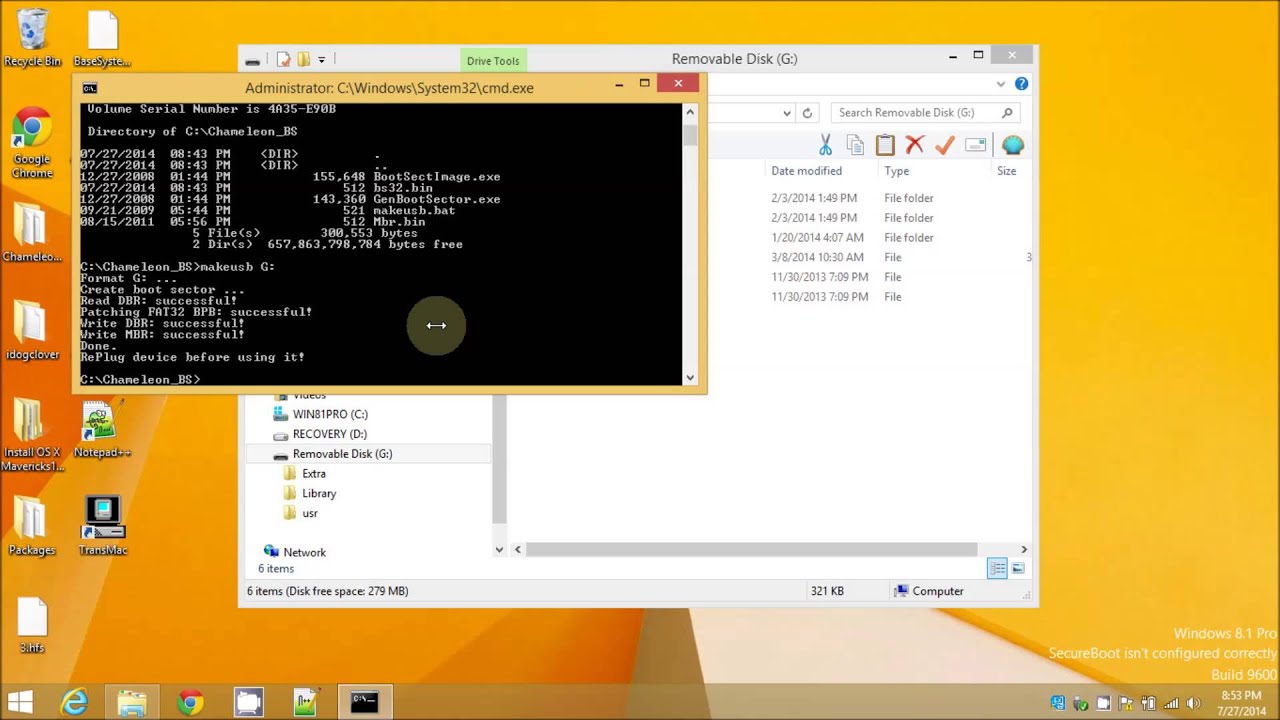
Hackintosh- How to Create bootable OS X Mavericks USB on Windows Amit Vikram Fitness. How to Make a Bootable Mac OS X Mavericks 10.9 USB Thumb Drive. No App Store Needed Lion Maverick. How to Make a Bootable macOS Sierra USB Install Drive. Make sure the drive is formatted for OS X Extended (Journaled). Insert your USB drive into any Mac, then launch the installer.
This app is free to download, but if you want to support his efforts. • An administrator account on the Mac you're using to create the disk. The easy way. Andrew Cunningham Once you've obtained all of the necessary materials, install the Diskmaker X app to your Applications folder. The app can currently make installers for OS X 10.7, 10.8, and 10.9, but we're only interested in Mavericks today. Imovie for mac tutorial.
Diskmaker X has actually been around since the days of OS X 10.7 (it was previously known as Lion Diskmaker), but it's more important now because Apple has made alterations to the installer that prevent the old Disk Utility method from working. It's still possible to create a disk manually using a Terminal command (which we'll go into momentarily), but Diskmaker X presents an easy GUI-based way to do it that is less intimidating to most people.
One note of caution: Diskmaker X no longer supports creating OS X install DVDs. This isn't going to be a problem for any Mac that can actually install Mavericks, but if you'd rather use a disc than a USB drive, you're apparently out of luck. Anyway, select OS X 10.9 in Diskmaker X, and the app should automatically find the copy you've downloaded to your Applications folder, but clicking 'Use another copy' will let you browse the drive if you happen to have moved it. It will then ask you where you want to copy the files—click 'An 8GB USB thumb drive' if you have a single drive to use, or 'Another kind of disk' to use a partition on a larger drive or some other kind of external drive. Choose your disk (or partition) from the list that appears, verify that you'd like to have the disk (or partition) erased, and then wait for the files to copy over. The process is outlined in screenshots below.
Parallels Desktop provides support for a plethora of operating systems, such as Windows (going from Windows 3.11 to Windows 8), MS-DOS, Red Hat Enterprise, Fedora, CentOS, Ubuntu, Debian, Suse Linux Enterprise, Mandriva, Solaris, Chrome OS, Mac OS X Leopard and Snow Leopard Server or Android. Parallels 9 for mac free trial key. Download License File Parallels Desktop 13 Activation Key has its own installer which makes it easy and simple. Parallels Desktop can be used to install Windows or another OS from a DVD or an image file or to migrate Windows from a PC.
The finished Mavericks boot drive, which also includes OS X's handy startup utilities. The only-slightly-less-easy way If you don't want to use Diskmaker X for some reason, has your hookup. Assuming that you have the OS X Mavericks installer in your Applications folder, and you have a Mac OS X Extended (Journaled)-formatted volume named 'Untitled' mounted on the system, you can create a Mavericks install drive by typing the following command into the Terminal.
Sudo /Applications/Install OS X Mavericks.app/Contents/Resources/createinstallmedia --volume /Volumes/Untitled --applicationpath /Applications/Install OS X Mavericks.app --nointeraction The command will erase the disk and copy the install files over. Give it some time, and your volume will soon be loaded up with not just the OS X installer, but also an external recovery partition that may come in handy if your hard drive dies and you're away from an Internet connection.