2016-03-22 16:-03-22 16:33:07 Bookkeeping English Microsoft Excel is an integral part of most businesses. See 10 easy tricks, shortcuts and hacks that will help you become an Excel super. 10 Microsoft Excel Tricks, Shortcuts and Hacks QuickBooks. Microsoft Excel is an integral part of most businesses.
This wikiHow teaches you how to group a section of data in Excel so that you. You can group and outline data in Excel on both Windows and Mac platforms.
Some people relish the capabilities of Excel, finding it a useful tool that allows them to easily manage, report on and illustrate tables of data. Others, however, find it tedious and downright obtuse, unable to make heads or tails of what exactly Excel can do from them, aside from keeping things in neat columns and rows. Format drive on mac.
Below is a list of 10 easy tricks, shortcuts and hacks that will put you on the path to being an Excel super user. (Note: There are a many versions of Excel, including versions for desktop (Windows, Mac OS X) and mobile (iOS and Android) operating systems. The visuals are screenshots from a Mac version of Excel. These tips were confirmed to work on a Mac and Windows desktop, but may apply to other versions as well. This piece also discusses keyboard shortcuts for use in a Windows OS.
For Mac, replace the “Control” key with the “Command” key.) 1. Select All Cells in a Spreadsheet at Once Do you need to reformat your font or make some other sweeping change to your Excel workbook? An easy way to select all the cells in the document is to click on the square in the upper left-hand corner where the top of the rows and columns meet. Clicking on this box will highlight all of the cells in the document, even empty cells. If you prefer keyboard shortcuts, you can also select all cells by pressing the “Control” and “A” buttons at the same time. Copy a Worksheet From 1 Workbook to Another This is helpful if you’re looking to merge data across two workbooks together and don’t want to reformat all of your data in either workbook.
Start by opening your “source” workbook (the one with the data you want to copy). Next, open your “target” workbook (you want to copy to). This can be a new workbook or an existing workbook. In your source workbook, look towards the bottom left-hand corner and find the name of the sheet you want to copy.
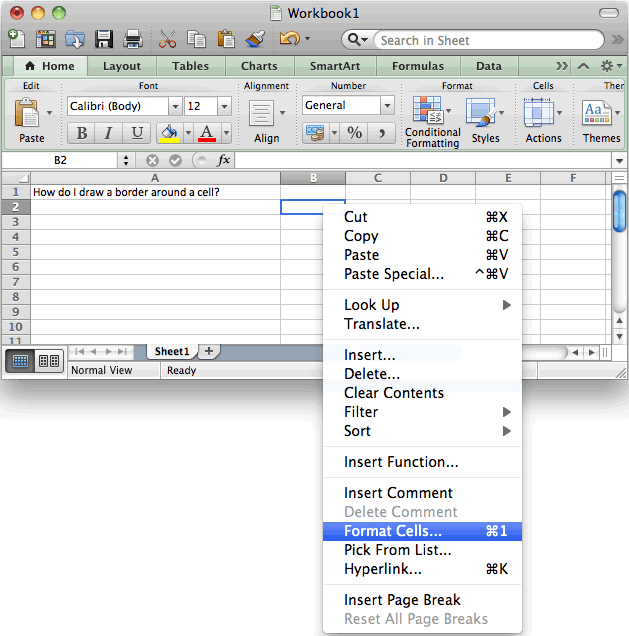
Unless the name of the worksheet is changed, it should have a name like “Sheet1” or something else. Right-click on the sheet you want to copy (if on a Mac with a single-button mouse, you may need to hold down the Control key while clicking).
Select “Move or Copy ” from the menu. Choose the workbook to copy it to and where in the order of the existing worksheets you want it to be. Alternatively, you can simply move the worksheet from one workbook to another by dragging it with your mouse, but it might be safer to copy it, at least until your comfort level with Excel increases. Add Multiple Rows and/or Columns at Once You might find you need to add multiple rows and columns at one time.
For example, let’s say you want to add multiple rows in the middle of a set of data. Select two rows, starting with the row directly below where you want the new rows to appear. (Note: You can choose as many rows as needed.) 2. Right-click (PC) or CTRL-click (Mac), and select “Insert” from the dropdown menu. The list has now been truncated to include the values you chose. But as you can see by the circled row numbers, the other data has not been deleted; it is simply “hidden” in this view.

You can easily undo any sorting by clicking on the Filter button at the top and choosing “(Select All)” again. Copying Figures From 1 Worksheet to Another in the Same Workbook You can use a figure from one cell on one worksheet in another cell on another worksheet without having to copy and paste them. This is especially handy for calculations where a number might change month to month, but you have one worksheet that figures everything on a year-to-date basis. The example below shows the first tab of the workbook that displays Year-To-Date sales, expenses and revenues totals. The second tab is labeled JAN, and the third tab is labeled FEB. This copies the formula across the cells, but changes the values relative to the new cell’s position.